
I have been looking for an all-purpose sprayer for a long time. That has to be it! I have used the Chapin on various surfaces in my yard and kitchen, including concrete, dirt, and grass. The great thing about this sprayer is that it will not damage the surface you are spraying and has enough pressure to get into those hard-to-reach places.

The Chapin Home and Garden Sprayer has an influential 1.2-gallon tank and a 16-foot hose. But there are some other things you need to know before you start using it. Here are seven tips that will help you use your sprayer more effectively.
Safety first:
When working with a spray gun, you must wear personal protective equipment when using it in case of problems to avoid getting hurt or damaged by the material being used for painting your garden or house walls and frames.
You should wear protective equipment to protect yourself from radiation during your job at the lab or garden because it can be dangerous. There is harmful radiation around you that might harm you if you are not careful or do not know what materials they use.
Remember to follow safety rules while working in dangerous areas like toxic waste dumps, chemical plants, etc. Don’t be careless, or you might get into trouble with the law, so don’t forget about it!
The safety recommendations are:
- Wear a respirator mask if you are using a high-purity or toxic spray.
- Wear goggles to protect your eyes from paint splatters and flying particles.
- Wear gloves to protect your hands from chemical reactions and paint particles.
- Wear long pants, preferably cotton.
- Avoid open wounds or skin broken due to the chemical reaction with the paint sprayer solution.
Prepare the Surface
Remove any excess dust or dirt from the area to be sprayed. Clean the surface with a damp cloth. Apply a thin layer of Chapin home and garden sprayer solution to the area to be spread. This process helps disperse the momentum of the spray. Start spraying from a distance of ¾ to 1 Metre away from surfaces. Keep spraying systematically along with the targeted areas and avoid wind exposure. Change position often during use to get abundant coverage of the required surface area.
Tip and filter size
A wide spray angle and small nozzle size can be used for materials that do not require great accuracy. A narrower spray angle and larger nozzle size should be used for materials that need to be atomized more finely.
Filter vs. Materials
Some materials require excellent atomization for the spray to penetrate deep and evenly, and others need more viscous spraying, making it unnecessary to use a filter. The specific polishes can guide you on what design works best with your gun! Gun tips include foam tip masking that fits inside the gun’s chamber/nozzle tube cap or cutting filter paper into smaller pieces and taping them onto this part where the air from the barrel meets the material.
Fitting a foam nozzle masking into an existing sprayer can be achieved with no tools or minimal skill required depending on how your sprayer is built. If you have to take away some length for ease, use chalk or a small permanent marker to mark where people should avoid touching and cleaning by scraping off as much paint from concrete as possible before applying polish at this point.
Preheat according to the Manufacturer’s Instructions
However, preheating is generally a good idea because drying is faster if the sprayer and nozzles are hot. The heat will help keep solvent molecules more evenly distributed over the treated material, preventing runs and drips down around seams and cracks when rinsed away afterward.
If necessary, non-contact temperature control can be achieved by spraying very close to your subject for many seconds before wiping it off on the edge of a newspaper. With nozzles, check if they fit into your sprayer head.
Shake it properly:
Shake the garden spray well before and empty it thoroughly after each use. That is important to prevent the build-up of thick and toxic residues from transferred solvents on the walls, ceiling, or floor. These can move into your home, drying clothes as well. It’s also a good idea to sterilize empty products by using them again once they’re free of any remaining materials – which you don’t want to apply anymore!
Use distilled water only. Plain tap water or any all-purpose dishwashing soap won’t work, so buy an inexpensive specialized supply for your garden sprayer. The major components of this life-supporting liquid are Oxygen and Hydrogen (Oxygen being the most abundant element on earth).
You can apply with a backwash solution before spraying – often within 2 to 5 months after removal & replacement means.
Nozzles Surface
It is suggested that nozzles should be replaced annually, and backwash solutions (often supplied in spray bottles) should take at least every few months.
If the sprayed solution is too light or washed away within two to five months of application, refill that entire gallon container with distilled water from your bulk store. It’s safest to use a different brand than earlier because makeup ingredients vary, but it can’t hurt!
Never forget to aim the nozzle at the surface you want to spray and turn on the pressure setting until a stream of water comes out.
Never Try Over spraying.
Check for overspray and clean up when finished by vacuuming off any excess water that has been collected underneath a piece of furniture or elsewhere in your house; return the pressure setting on the spray nozzle to the “off” position if the problem persists.
What holds whether you’re using it outdoors or indoors? If there are no obstructions (like high shelves), every inch across your hardwood floors should get a spray line. If there are, you need to adjust how far away your can is traveling horizontally – this depends on the type/size of debris obstructing it from spraying all over your floor (e.g., what garden piece).
General idea In addition to following steps 1-5 outlined above, certain sprays have different settings for vertical and horizontal applications. This could be important for specific plantings like hanging baskets, ivy, or other vines.
Dry off the sprayer thoroughly before storing
Chapin Sprayer makes it easy to quickly and efficiently dry off the sprayer before storing it. Doing this will prevent accidental water damage that could occur when the sprayer is not properly dry.
Avoiding Mistakes when using a Chapin Sprayer
If you’re new to using a Chapin sprayer, there are a few things you need to remember to avoid making mistakes.
- Always wear the appropriate safety gear when using a Chapin sprayer. This includes a face shield, gloves, and eye protection.
- Always read the directions before using your Chapin sprayer, and follow them strictly. Failure to do so can result in personal injury or property damage.
- Use caution when spraying on slopes or around water, as these areas are particularly dangerous for skiers and fishermen alike.
- Remember that Chapin sprayers can be powerful tools, so take care when operating them so that you don’t injure yourself or others.
How does a Chapin sprayer work?
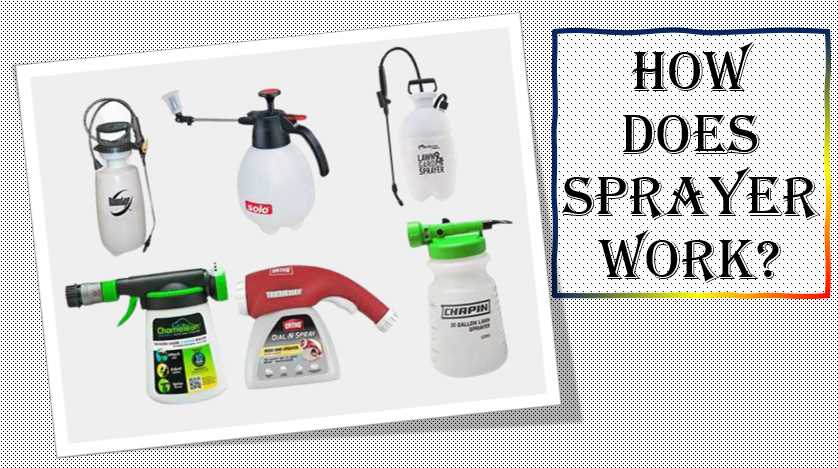
A Chapin sprayer is a type of lawn care equipment that uses water to distribute a herbicide or pesticide over a large area evenly. It is usually used to treat areas such as driveways, patios, and sidewalks.
The Chapin sprayer consists of two parts: the pump and the nozzle. The pump sends pressurized water through the nozzle at high pressure, which atomizes the herbicide or pesticide. This allows it to be sprayed evenly over a large area.
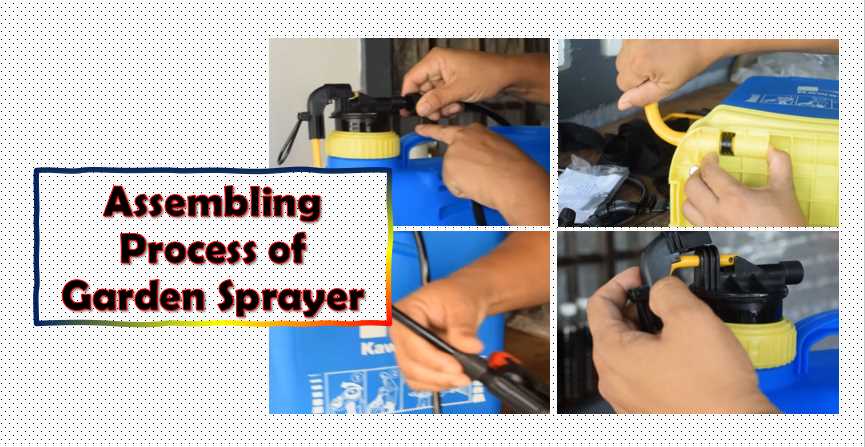
Installing Process
The nozzle sits directly on top of the pump inside a plastic case. The pump attaches to the hose, and the applicator wand rests over it like an extension tube end. To attach it to your garden mower, you will need the following:
- Spray Wand Attachment Ring Included
- Gopak 4 foot 3/4 inch Male Auger Connector (Not supplied)
- Nylon 3/8″ OD Tee Adapter. Any Heavy-Duty Vehicle with a 3/4″ Steering Pipe
- 12 inches long 1-1/2 inch hose

I love gardening and hope you enjoy reading my post as much as I enjoy writing it. I focus on plant-based living and believe that you will be healthier and happier by incorporating more plant-based foods into your diet. By providing helpful tips and advice on everything from garden design to growing techniques, I want to help make gardening easier for everyone.
Pingback: CHAPIN 1-Gallon Plastic Tank Sprayer: Review with Infographic
Pingback: 10 Best Garden Sprayer: Reviews in 2022: Buyers Guide & Tips
Pingback: Chapin 4 Gallon Backpack Sprayer: Reviews in 2022
Pingback: How To Choose The Right Field King Max Sprayers for Your Needs: 3 Interesting Video Guides
Pingback: Chapin 4 Gallon Backpack Sprayer - The Best Sprayer For Your Home Garden
Pingback: 10 Most Popular Sprayers for Gardeners With Buying Advice and Video Explained
Pingback: Scotts 190567 lithium-ion battery-powered pump sprayer: Instructions and sprayer parts explained