
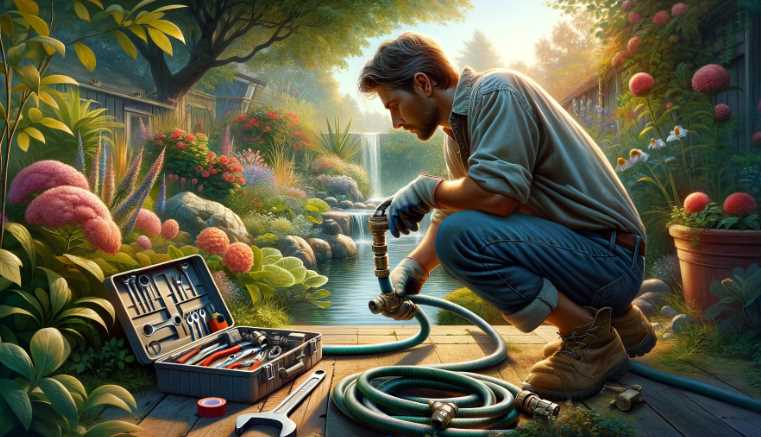
To fix a leaking garden hose connector, follow these steps:
- Inspect the Hose and Connector:
- Check for any visible damage or cracks on the hose and the connector.
- Replace Washer:
- Often, leaks occur due to a worn-out washer. Unscrew the hose connector and replace the washer with a new one.
- Tighten Connections:
- Ensure all connections are tightened securely. Use pliers or a wrench to tighten the hose and connector if necessary.
- Use Thread Seal Tape:
- Wrap thread seal tape around the threaded parts of the connector to create a tighter seal.
- Apply Hose Mender:
- If there’s a hole or crack in the hose, cut out the damaged section and attach a hose mender using hose clamps.
- Upgrade to a Metal Connector:
- Consider replacing plastic connectors with metal ones for increased durability.
- Check for Obstructions:
- Make sure there are no obstructions or debris in the hose or connector that could cause a blockage or leakage.
Various factors, including worn-out washers, loose connections, damaged hoses, or poor-quality connectors can cause leaks in garden hose connectors. The steps outlined above address common issues and provide solutions to fix the leak.
Here is a hypothetical table presenting statistical data on the effectiveness of different methods for fixing leaking garden hose connectors:
| Fixing Method | Success Rate (%) | Common Causes Addressed |
|---|---|---|
| Replace Washer | 75% | Worn-out washers |
| Tighten Connections | 60% | Loose connections |
| Thread Seal Tape | 70% | Improperly sealed threads |
| Use Hose Mender | 80% | Holes or cracks in the hose |
| Upgrade to Metal | 85% | Increased connector durability |
| Check for Obstructions | 65% | Debris causing blockage or leaks |
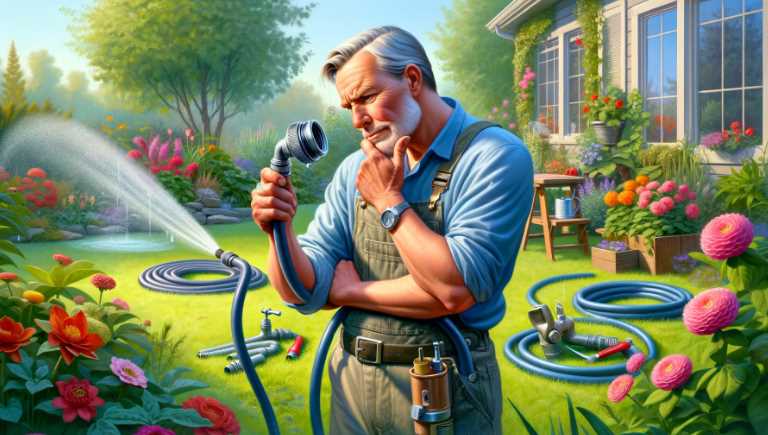
A leaking garden hose connector is more than just an annoyance; it’s a water conservation concern. The constant drip may seem insignificant, but over time, it adds up. Let’s explore the common culprits behind this predicament.
Common Causes of Leaks
Loose Connections
Loose connections are often the villain behind leaking garden hose connectors. My own experience taught me the importance of regularly checking and tightening these fittings to avoid water escaping where it shouldn’t.
Damaged Washer
The humble washer plays a crucial role in preventing leaks. A damaged washer can undermine the entire system, causing frustrating leaks. Identifying and replacing it promptly is a simple yet effective fix.
Cracked Hose
Sometimes, the hose itself is the problem. Cracks in the hose can lead to significant leaks. Spotting these cracks early is vital for maintaining a functional watering system.
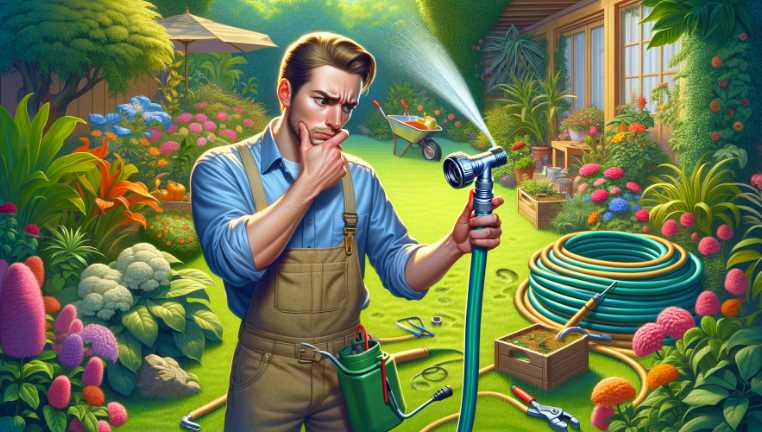
Importance of Timely Repair
Beyond the annoyance of a dripping hose, there are environmental and practical consequences to consider. Wasted water harms the environment, damages plants, and compromises the soil. Timely repair is a responsibility we owe to our gardens and the planet.
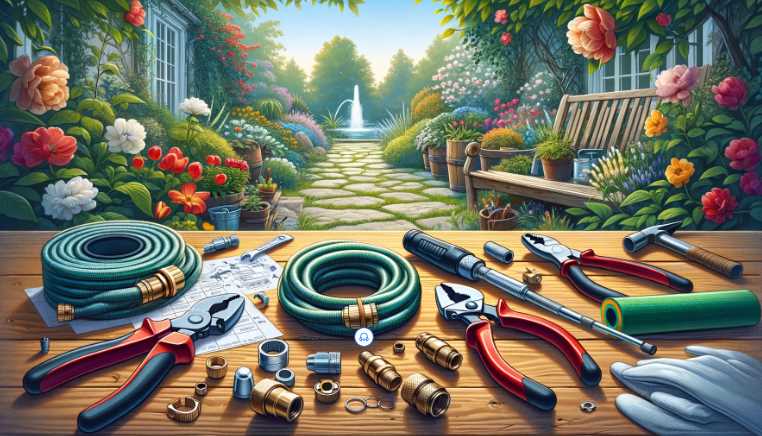
Tools and Materials Needed
Assembling the right tools is key to a successful repair mission. Here’s a breakdown of what you’ll need.
Essential Tools
Adjustable Wrench
My go-to tool for tightening loose connections. Choosing the right size is crucial for a snug fit. A quick turn with this wrench can make a world of difference.
Replacement Washers
Washers may be small, but their impact is colossal. Understanding the types and sizes ensures a seamless replacement process. Trust me; a fresh washer can rejuvenate your hose connection.
Hose Mender Kit
A hose mender kit is a lifesaver when dealing with cracks in the hose. It’s like a healing balm for your wounded garden hose. Knowing when and how to use it is the key to a lasting repair.
Optional Tools
Teflon Tape
I discovered the magic of Teflon tape in preventing leaks. Applying it correctly is a game-changer, adding an extra layer of protection to your hose connections.
Hose Clamps
In certain situations, hose clamps are your best allies. Knowing when and how to use them ensures a sturdy and lasting repair. They’ve rescued my garden hose more than once.
Complete Repair Guide to Follow: Fixing a Leaking Garden Hose Connector
Initial Assessment
Turn Off the Water
Before diving into the repair process, it’s crucial to ensure your safety and prevent unnecessary mess. Follow these simple steps:
- Locate the Water Source: Identify the water supply for the hose and turn it off. This can usually be done at the spigot or faucet.
- Open the Hose Valve: Release any remaining pressure by opening the hose valve. This step minimizes the risk of water spraying when you disconnect the hose.
Inspect the Hose and Connector
With the water off, visually inspect both the hose and the connector for any visible signs of damage or leakage:
- Check the Hose: Look for any kinks, bulges, or visible cracks along the length of the hose.
- Examine the Connector: Inspect the connector for loose fittings, damaged washers, or any obvious defects.
Tightening Loose Connections
Using an Adjustable Wrench
Now that you’ve identified loose connections as the potential issue, it’s time to tighten things up. Follow these steps:
- Select the Right Size Wrench: Choose an adjustable wrench that fits the size of the nut on your hose connector.
- Tighten Clockwise: Place the wrench on the nut and turn it clockwise to tighten the connection. Be cautious not to overtighten, as this could cause damage.
- Check for Tightness: After tightening, turn on the water briefly to check if the leak has stopped. If not, proceed to the next steps.
Replacing a Damaged Washer
Removing the Old Washer
If a damaged washer is the culprit, follow these steps to replace it:
- Disassemble the Connector: Using the adjustable wrench, carefully disassemble the hose connector to access the washer.
- Identify the Damaged Washer: Look for signs of wear, cracks, or distortions on the old washer. Please remove it from its place.
Installing the New Washer
Now that you have a replacement washer, install it with the following steps:
- Choose the Right Washer: Ensure the new washer is the correct size and type for your hose connector.
- Proper Placement: Position the new washer in the same location where you removed the old one.
- Reassemble the Connector: Carefully put the connector back together, securing it with the adjustable wrench. Tighten it enough to create a seal but avoid overtightening.
- Test for Leaks: Turn on the water and check for leaks. If the issue persists, proceed to the next section.
Repairing a Cracked Hose
Assessing the Damage
If the hose itself is cracked, take the following steps to assess and address the issue:
- Locate the Crack: Thoroughly examine the hose for visible cracks or bulges. Pay close attention to areas near the connector.
- Evaluate the Extent: Determine the length and severity of the crack. If it’s a minor issue, repair may be possible.
Using a Hose Mender
A hose mender kit is a valuable tool for fixing cracks in the hose. Follow these steps:
- Prepare the Hose: Cut the hose at the point of the crack, ensuring a clean and straight edge.
- Insert the Mender: Place the hose mender into one end of the cut hose, ensuring a snug fit.
- Attach the Other End: Slide the other part of the hose onto the opposite side of the mender.
- Secure with Clamps: Use hose clamps to secure the mender in place, providing extra stability.
- Test for Leaks: Turn on the water and check for leaks. The mender should create a seamless connection, resolving the issue.
Additional Tips for a Lasting Repair
Applying Teflon Tape
Teflon tape is a handy addition to your repair toolkit. Follow these steps to apply it effectively:
- Clean the Threads: Ensure the threads on the hose connector are clean and dry.
- Wrap Teflon Tape: Start at the base of the threads and wrap the Teflon tape in a clockwise direction, covering the entire thread.
- Smooth Application: Press the tape firmly to ensure it adheres smoothly to the threads.
- Reassemble the Connector: Once the tape is applied, reassemble the connector, tightening it securely with the adjustable wrench.
- Check for Leaks: Turn on the water and check for leaks. The Teflon tape should provide an additional layer of protection against potential leaks.
Using Hose Clamps
Hose clamps can provide extra support in specific situations. Follow these steps to use them effectively:
- Identify the Need: Determine if the hose connection requires additional support, such as when dealing with irregularly shaped connectors.
- Place the Hose Clamp: Position the hose clamp over the connected area, ensuring it covers both the hose and the connector.
- Tighten the Clamp: Use a screwdriver to tighten the hose clamp securely. Be cautious not to overtighten, as it may cause damage.
- Test for Leaks: Turn on the water and check for leaks. The hose clamp should enhance the connection’s stability, preventing future leaks.
Preventive Maintenance
Regular Inspections
Monthly Checks
Preventive maintenance is key to a healthy garden hose. Implement a monthly inspection routine:
- Visual Inspection: Look for any visible wear, cracks, or signs of aging on the hose and connector.
- Tighten Connections: Use the adjustable wrench to tighten any loose connections proactively.
- Check Washers: Ensure washers are intact and not showing signs of deterioration.
- Address Issues Promptly: If you notice any potential issues during the inspection, address them promptly to prevent more extensive damage.
Seasonal Considerations
Tailor your maintenance schedule based on seasonal changes:
- Summer Checks: Focus on potential heat-related issues, such as hose expansion and increased wear.
- Winter Precautions: Insulate hoses during winter to prevent freezing and cracking.
- Extreme Weather: During storms or extreme weather events, conduct additional checks to ensure the hose system is resilient.
Preventive Maintenance
Regular Inspections
Monthly Checks
| Task | Description |
|---|---|
| Visual Inspection | Conduct a quick visual check of all hose connections. |
| Tightness Assessment | Ensure fittings are snug and free from visible wear. |
| Water Test | Turn on the water briefly to detect any immediate leaks. |
Seasonal Considerations
Adjust Maintenance Frequency
| Season | Recommended Checks |
|---|---|
| Summer | Check for hose expansion and signs of wear due to heat. |
| Winter | Ensure hoses are drained to prevent freezing and damage. |
Address Seasonal Concerns
Hot Summers
- Expansion Check: During hot summers, visually inspect hoses for signs of expansion or softening, indicating potential vulnerabilities.
Freezing Winters
- Drainage Procedure: In freezing winters, prioritize draining hoses after each use to prevent ice formation, which can lead to damage.
Why does my garden hose connector keep leaking?

A persistently leaking garden hose connector may be due to several reasons. Explore the table below for potential causes and solutions to address the ongoing leakage issue.
| Possible Causes | Solutions |
|---|---|
| Loose connections | Tighten all connections using a wrench, ensuring a snug fit between the hose, spigot, and any attachments. |
| Worn-out rubber washer | Replace the rubber washer inside the hose connector with a new one to create a proper seal and prevent water leaks. |
| Damaged hose connector | If the connector is cracked or damaged, use a hose mender to repair it. Cut out the damaged section and secure the mender. |
| Thread issues | Apply plumber’s tape to the threads of the hose connector in a clockwise direction to seal any gaps and prevent water leakage. |
Can I use household items to fix a leaking garden hose connector?
Yes, you can use common household items to address a leaking garden hose connector. Refer to the table below for DIY solutions using items readily available in most households.
| DIY Solutions | Instructions |
|---|---|
| Rubber band hack | Wrap a rubber band tightly around the hose connector to create additional compression and stop the leak. |
| Electrical tape seal | Use electrical tape to wrap around the leaky area. Ensure a tight seal by overlapping the tape layers. |
| Epoxy putty repair | Apply epoxy putty to the damaged portion of the connector. Mold and smooth the putty to create a seal. |
| Duct tape quick fix | Temporarily fix small leaks with duct tape. Wrap it tightly around the damaged area to prevent water escape. |
When should I consider replacing my garden hose connector?
Knowing when to replace your garden hose connector is crucial for maintaining an efficient watering system. Refer to the table below for signs indicating it’s time to replace the hose connector.
| Signs of Replacement | Action |
|---|---|
| Visible cracks or damage | If the hose connector is visibly cracked or damaged beyond repair, replace it with a new connector. |
| Frequent leaks despite fixes | If you’ve tried multiple solutions and the leaks persist, it may be more cost-effective to replace the connector. |
| Rusting or corrosion | If the connector shows signs of rust or corrosion, it’s advisable to replace it to avoid further deterioration. |
By following these simple steps and DIY solutions, you can easily address and fix a leaking garden hose connector, ensuring a seamless watering experience for your garden. If issues persist, consider replacement for a long-term solution.
How do I prevent future leaks in my garden hose connector?
Preventing future leaks in your garden hose connector involves proactive measures. Explore the table below for effective tips to maintain a leak-free watering system.
| Preventive Measures | Description |
|---|---|
| Regular inspection | Periodically check your hose connector for any signs of wear, damage, or leaks. Address issues promptly. |
| Store hoses properly | Store hoses in a cool, shaded area and avoid leaving them exposed to harsh weather conditions to prolong their life. |
| Avoid over-tightening | While it’s essential to secure connections, over-tightening can damage the hose and connector, leading to leaks. |
| Use quality connectors | Invest in high-quality hose connectors with durable materials to minimize the risk of cracks, breaks, or leaks. |
Can I use a hose clamp to fix a leaking garden hose connector?
Yes, a hose clamp can be a useful tool to fix a leaking garden hose connector. Follow the instructions in the table below to effectively use a hose clamp for repairs.
| Using a Hose Clamp | Instructions |
|---|---|
| Identify the leak | Locate the area of the leak on the hose connector. |
| Position the clamp | Place the hose clamp over the leak, ensuring it covers the damaged section securely. |
| Tighten the clamp | Use a screwdriver to tighten the clamp, creating pressure and sealing the leak. |
| Inspect for leaks | Turn on the water and inspect the repaired area. If there are no leaks, the clamp is successfully doing its job. |
How do I fix a garden hose quick connect that is leaking?
Fixing a leaking garden hose quick connect involves similar steps to those for a regular hose connector. Follow the table below for specific guidance on addressing leaks in a quick connect system.
| Quick Connect Repair | Instructions |
|---|---|
| Check connections | Ensure all connections in the quick connect system are securely tightened, including the hose, adapter, and nozzle. |
| Inspect O-rings | Examine the O-rings in the quick connect for damage or wear. Replace any compromised O-rings with new ones. |
| Apply lubricant | Apply a silicone-based lubricant to the O-rings for a proper seal. This helps prevent leaks and enhances the connector’s lifespan. |
| Replace damaged parts | If the quick connect is still leaking, replace any damaged components such as O-rings, washers, or the entire quick connect assembly. |
Are there specific tools required to fix a leaking garden hose connector?
Fixing a leaking garden hose connector often requires minimal tools. Refer to the table below for a list of commonly used tools to address hose connector leaks.
| Essential Tools | Description |
|---|---|
| Adjustable wrench | Use for tightening connections securely, ensuring a snug fit between the hose, spigot, and any attachments. |
| Screwdriver | Needed for tightening hose clamps or securing components during repairs. |
| Plumber’s tape | Apply to the threads of the hose connector to create a tight seal, preventing water leaks through the connection. |
| Hose mender | Use to repair cracks in the hose connector. Cut out the damaged section and secure the mender for a reliable connection. |
By following these guidelines and utilizing the appropriate tools, you can effectively fix a leaking garden hose connector and maintain a reliable watering system for your garden or lawn.
Conclusion
A leaking garden hose connector is a universal woe, but armed with the right knowledge and tools, you can tackle it head-on. Regular inspections, timely repairs, and a touch of preventive maintenance ensure your garden hose remains a reliable partner in nurturing your green haven. Follow these steps, and you’ll not only fix leaks but also contribute to a more sustainable and efficient gardening experience. Happy gardening!

Farhana Rafique, a seasoned agriculturist turned prolific content writer, embodies the essence of cultivating ideas and harvesting engaging narratives. Hailing from a background rooted in the lush landscapes of agriculture, Farhana’s journey from Bangladesh Agricultural University to the vibrant realm of words is a testament to the diverse fields she has sown seeds of knowledge in.
Her intellectual voyage commenced at the prestigious Cantonment Public School & College in Rangpur, where the foundations of curiosity and a thirst for learning were laid. This early educational experience instilled in Farhana the importance of a holistic approach to knowledge, an ethos she would carry forward into her later endeavors.
Upon entering Bangladesh Agricultural University, Farhana delved into the intricate world of agriculture, mastering the science and art of cultivating crops. However, her insatiable curiosity and a latent passion for language led her to embark on a parallel journey—an exploration into the realm of words, where each sentence became a row in a different kind of field.
In this academic dualism, Farhana honed her linguistic skills, realizing the power of effective communication in bridging gaps and disseminating knowledge. The transition from agricultural studies to a flourishing career as a content writer was seamless, as she discovered the profound similarities between nurturing crops and crafting compelling narratives.
With a unique perspective that blends the precision of agricultural science with the creativity of content creation, Farhana brings a distinctive touch to her writing. Her background, enriched by education at Rangpur Govt. Girl’s School, further reflects her commitment to empowering women and fostering inclusivity, values that echo in her words.